Github's Special Profile Repos
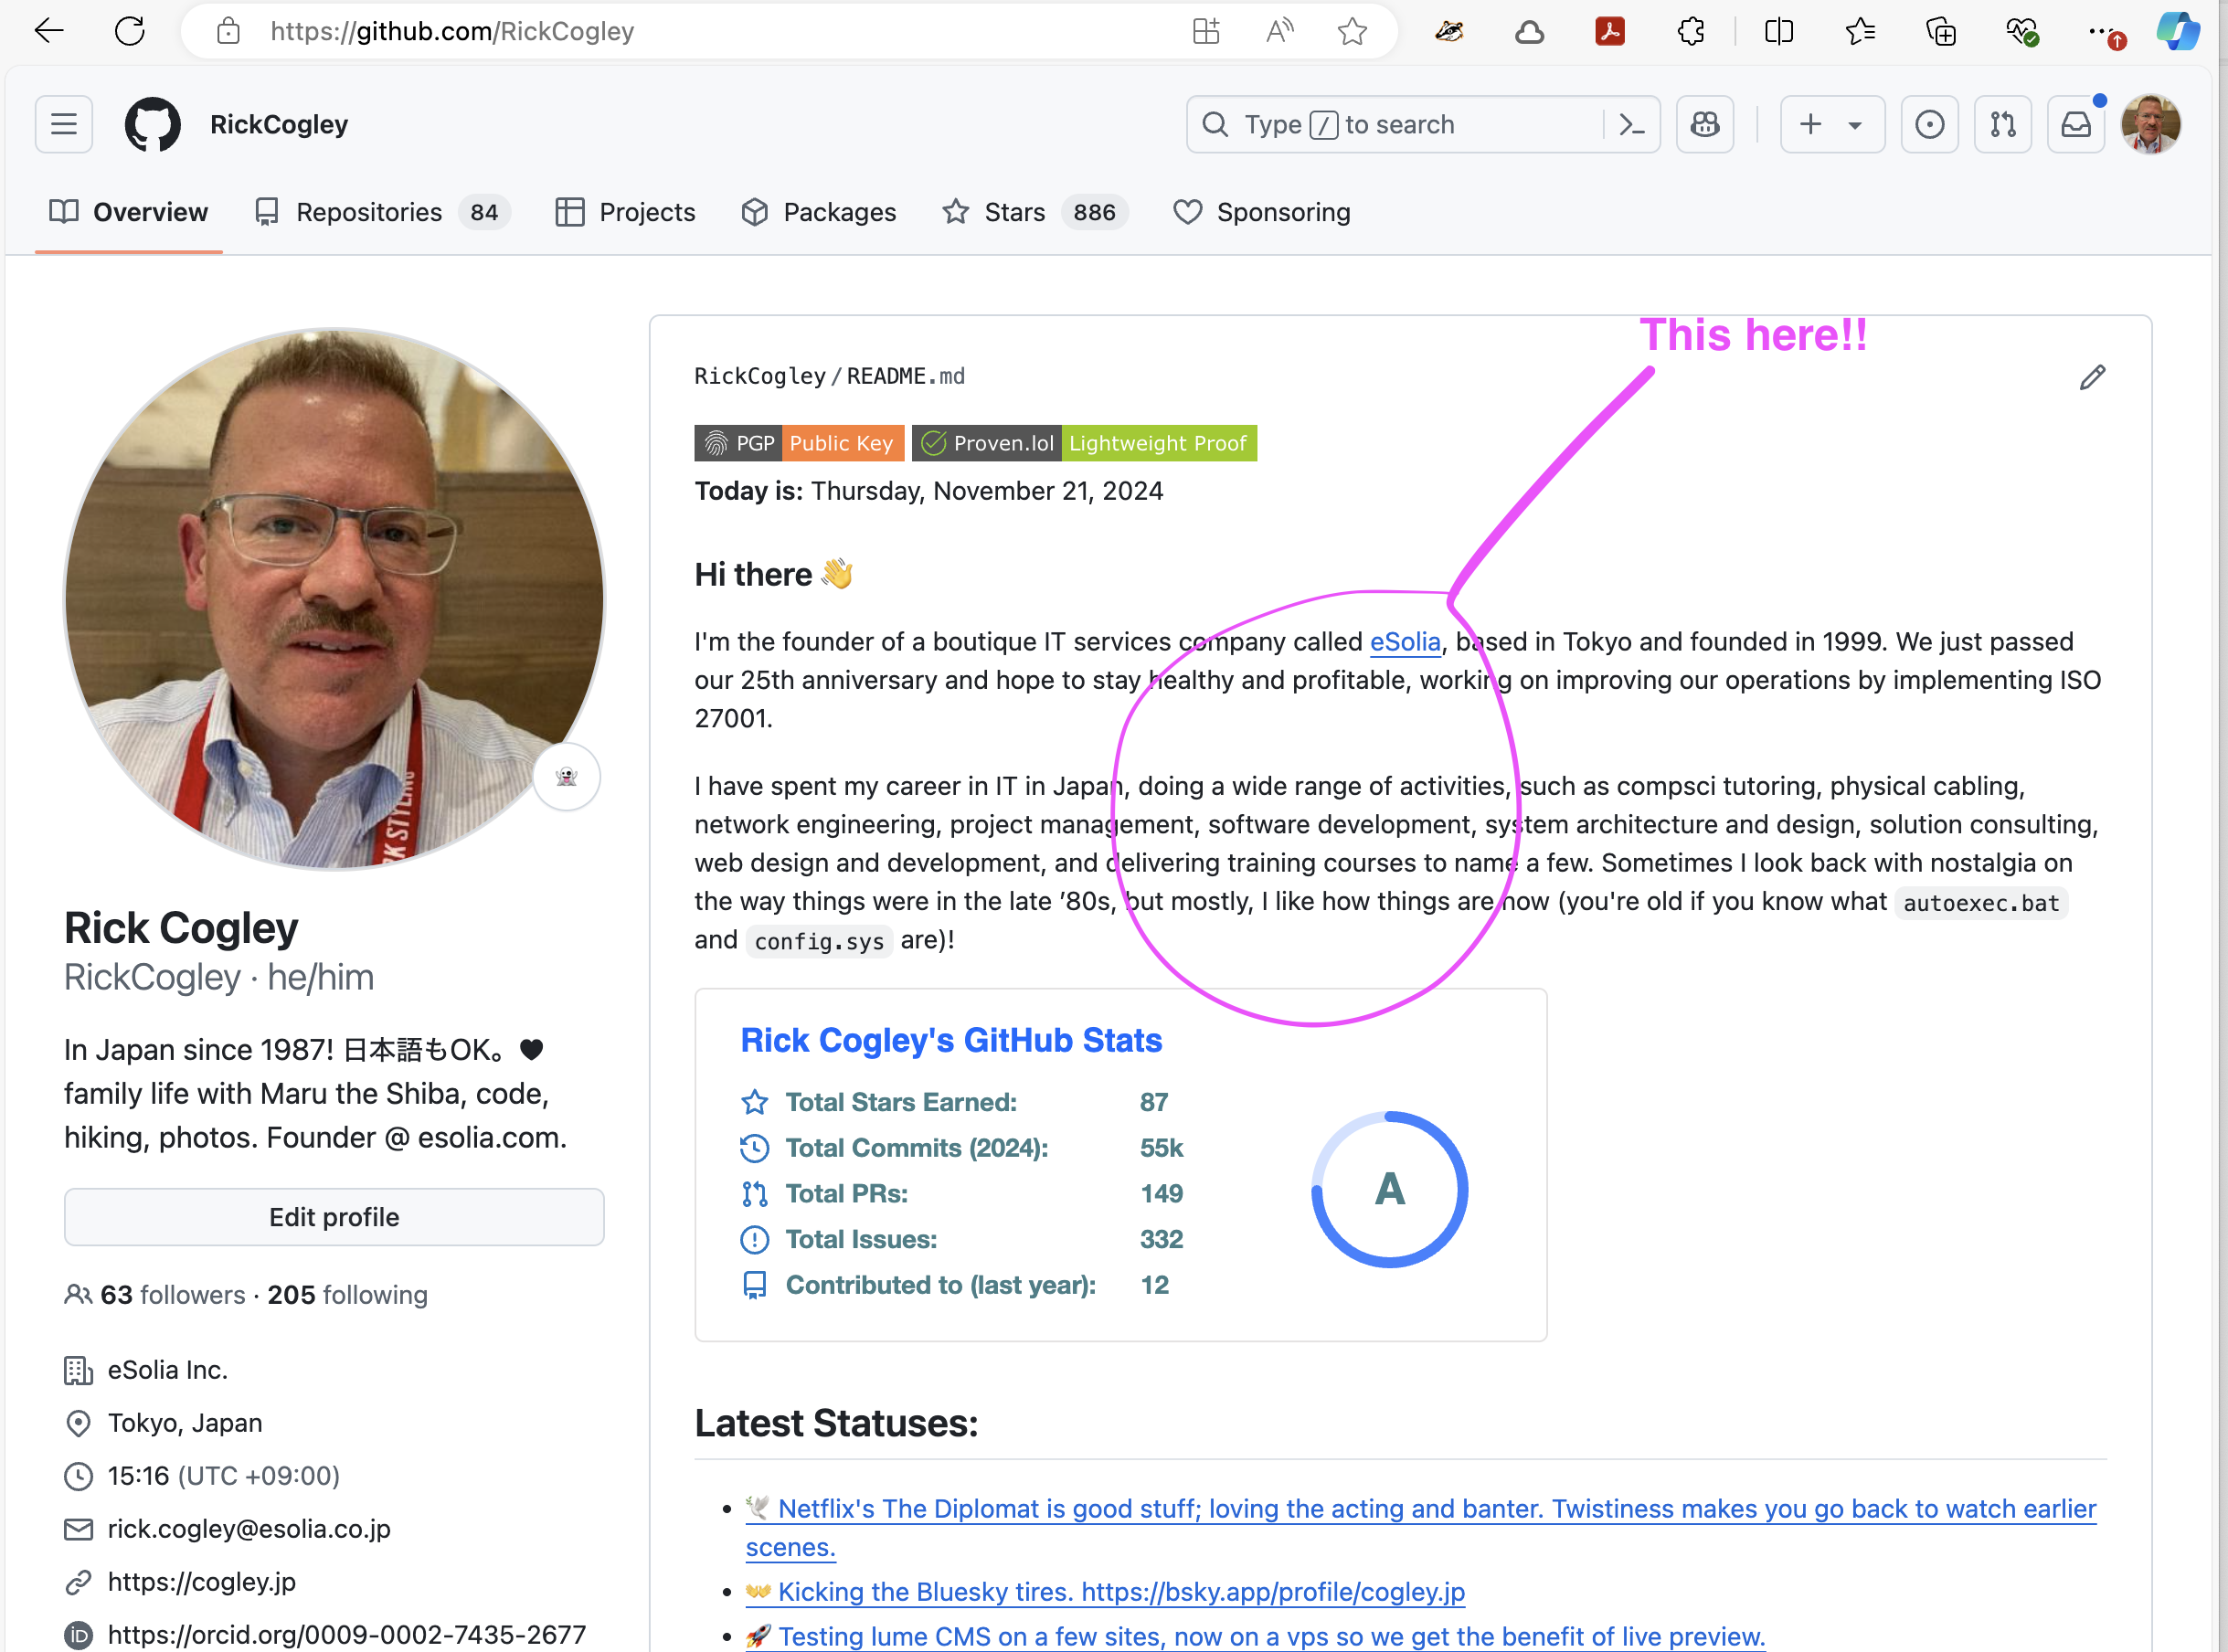
Github has a special feature where, the README.md from a repository with the
same name as your Github username is displayed on your Github profile. My Github
handle and profile is @rickcogley, and you're
looking at a page served via Github Pages from that very repository. In my case,
it's rickcogley / rickcogley.
The Concept
I use the static site generator
«Lume ルメ» and its companion
Vento templates, both coded by
Óscar Otero, to generate my profile README from live
data. A Vento template produces a markdown file, which Lume copies to the repo
root as README.md. Github Actions rebuilds it daily.
The data comes from JSON APIs — in my case, a personal API I built called pub-cogley. But you can use any public JSON endpoint: your blog's API, a CMS, a weather service, a quote API, whatever you want. The pattern is the same.
How It Works
There are three pieces:
src/_data.ts— fetches data from APIs and exports it for templatessrc/repo-readme.vto— a Vento template that generates markdown.github/workflows/update-profile-readme.yml— a GitHub Action that rebuilds daily
1. Fetching Data
The _data.ts file runs at build time and exports variables that your template
can use. Here's the core pattern — a generic JSON fetcher with a fallback so the
build never breaks:
const API_BASE = "https://your-api.example.com/api";

async function fetchJSON<T>(path: string, fallback: T): Promise<T> {
  try {
    const response = await fetch(`${API_BASE}${path}`, {
      headers: { "Accept": "application/json" },
    });
    if (!response.ok) return fallback;
    return await response.json() as T;
  } catch {
    return fallback;
  }
}
Then you export whatever data you need:
// Your latest posts, stats, status — whatever your API serves
export const posts = await fetchJSON("/posts?limit=5", { posts: [] });
export const stats = await fetchJSON("/stats", { posts: 0, articles: 0 });
export const presence = await fetchJSON("/presence", { status: { label: "" } });
You can also compute derived values. For example, I pick a daily random quote:
const dayOfYear = Math.floor(
  (Date.now() - new Date(new Date().getFullYear(), 0, 0).getTime()) / 86400000,
);
export const randomQuote = quotes.quotes.length > 0
  ? quotes.quotes[dayOfYear % quotes.quotes.length]
  : { text: "", source: "" };
Any exported variable from _data.ts is available in your Vento templates
automatically — that's how Lume's
shared data works.
2. The Template
The repo-readme.vto template writes markdown using those variables. The
frontmatter sets url: /repo-readme.md which tells Lume to output a markdown
file instead of HTML:
---
url: /repo-readme.md
---
### Hi there 👋

{{ if randomQuote.text }}
> _"{{ randomQuote.text }}"_ — {{ randomQuote.source }}
{{ /if }}
For loops and conditionals work naturally:
### Latest Posts

{{ for item of posts.posts }}
- [{{ item.title }}]({{ item.url }})
{{ /for }}
One thing to watch: Vento's auto_trim plugin strips whitespace around block tags
(if, for, set). If your markdown list items or sections collapse together,
pre-build the content into an array with {{ set }}, then loop over plain
strings:
{{ set items = [] }}
{{ for item of posts.posts }}
{{ set items = items.concat("- " + item.title) }}
{{ /for }}
{{ for line of items }}
{{ line }}
{{ /for }}
You can also include mermaid diagrams — Github renders them natively in markdown:
```mermaid
graph LR
    A[Your API] --> B[Lume Build]
    B --> C[README.md]
    C --> D[GitHub Profile]
```
3. Build & Copy
In _config.ts, a post-build script copies the generated readme to the repo
root:
site.script("copyreadme", "cd _site && cp repo-readme.md ../README.md");
site.addEventListener("afterBuild", "copyreadme");
If you have data that needs fetching via a shell command (e.g. a curl to a protected API), you can add a pre-build script too:
site.script("getdata", "curl https://api.example.com/data -o src/_data/data.json");
site.addEventListener("beforeBuild", "getdata");
Automate with GitHub Actions
The GitHub Actions workflow rebuilds the site on push, manual trigger, or a cron schedule:
on:
  push:
    branches: [main]
  workflow_dispatch:
  schedule:
    - cron: "30 16 * * *"  # daily at 16:30 UTC
The workflow installs Deno, runs deno task build, then auto-commits any
changes. The key steps:
- uses: denoland/setup-deno@v2
  with:
    deno-version: v2.x

- run: deno task build

- uses: stefanzweifel/git-auto-commit-action@v5
  with:
    commit_message: Apply changes during gh actions build
If your API requires authentication, store the token as a repository secret and pass it as an environment variable:
- run: deno task build
  env:
    API_KEY: ${{ secrets.MY_API_KEY }}
Get Your Own
- Go to my profile repo and click "Use this template" to make your own copy. Name the repo as your GitHub username.
- Edit
src/_data.ts— pointfetchJSONat your own API or any public JSON endpoint. - Edit
src/repo-readme.vto— design your README layout in markdown with Vento template tags. - Push. The GitHub Action will build and commit your
README.md. - Optionally, set
url: falseinsrc/index.mdif you don't want the explanation site on GitHub Pages.
To test locally: install Deno, clone your repo, and run
deno task serve to preview at http://localhost:3000.
You can see a simpler version without any website creation tooling in my org eSolia's profile repo.